Drawing Import
Add Folders For Document Import
Edit Folder Mappings
Refresh Folder Structure
Drawing Import
Drawing import can be used to process CAD drawings in the following formats :
- AutoCAD Drawings : All versions of AutoCAD with file extension .DWG are supported.
- DXF and DGN Drawings : These drawings can be converted to .DWG format for porcessing. The folder browser must be configured to show the drawings to be processed.
Import Drawings
Load AutoCAD Drawing Tags
How to Load AutoCAD Drawing Tags
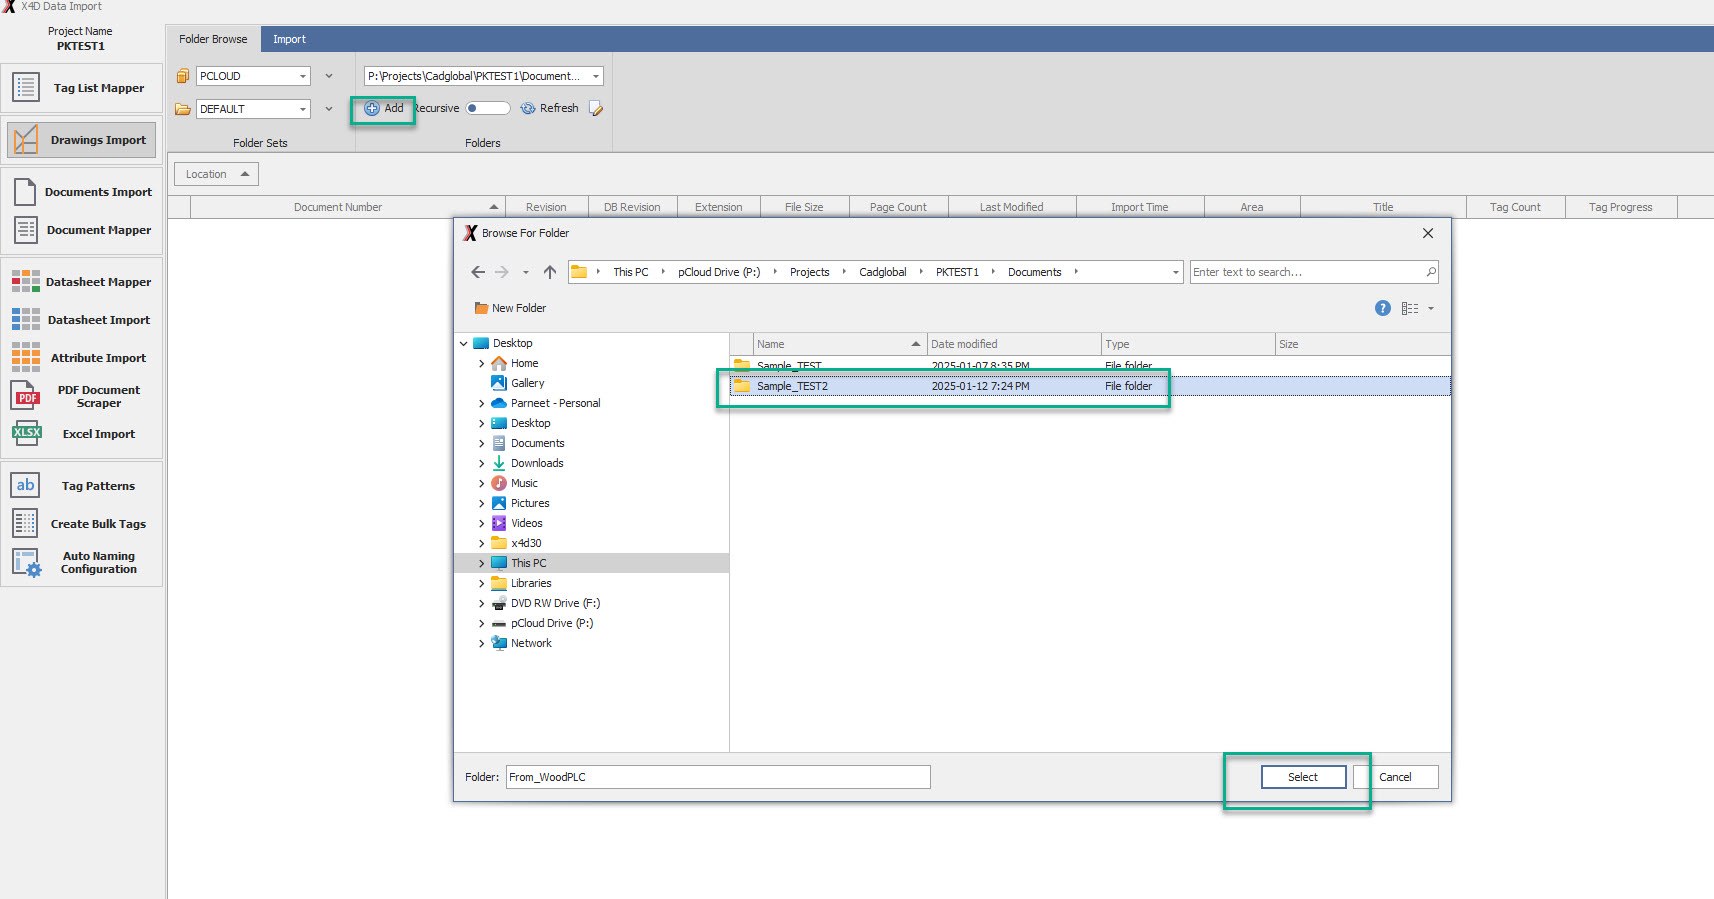
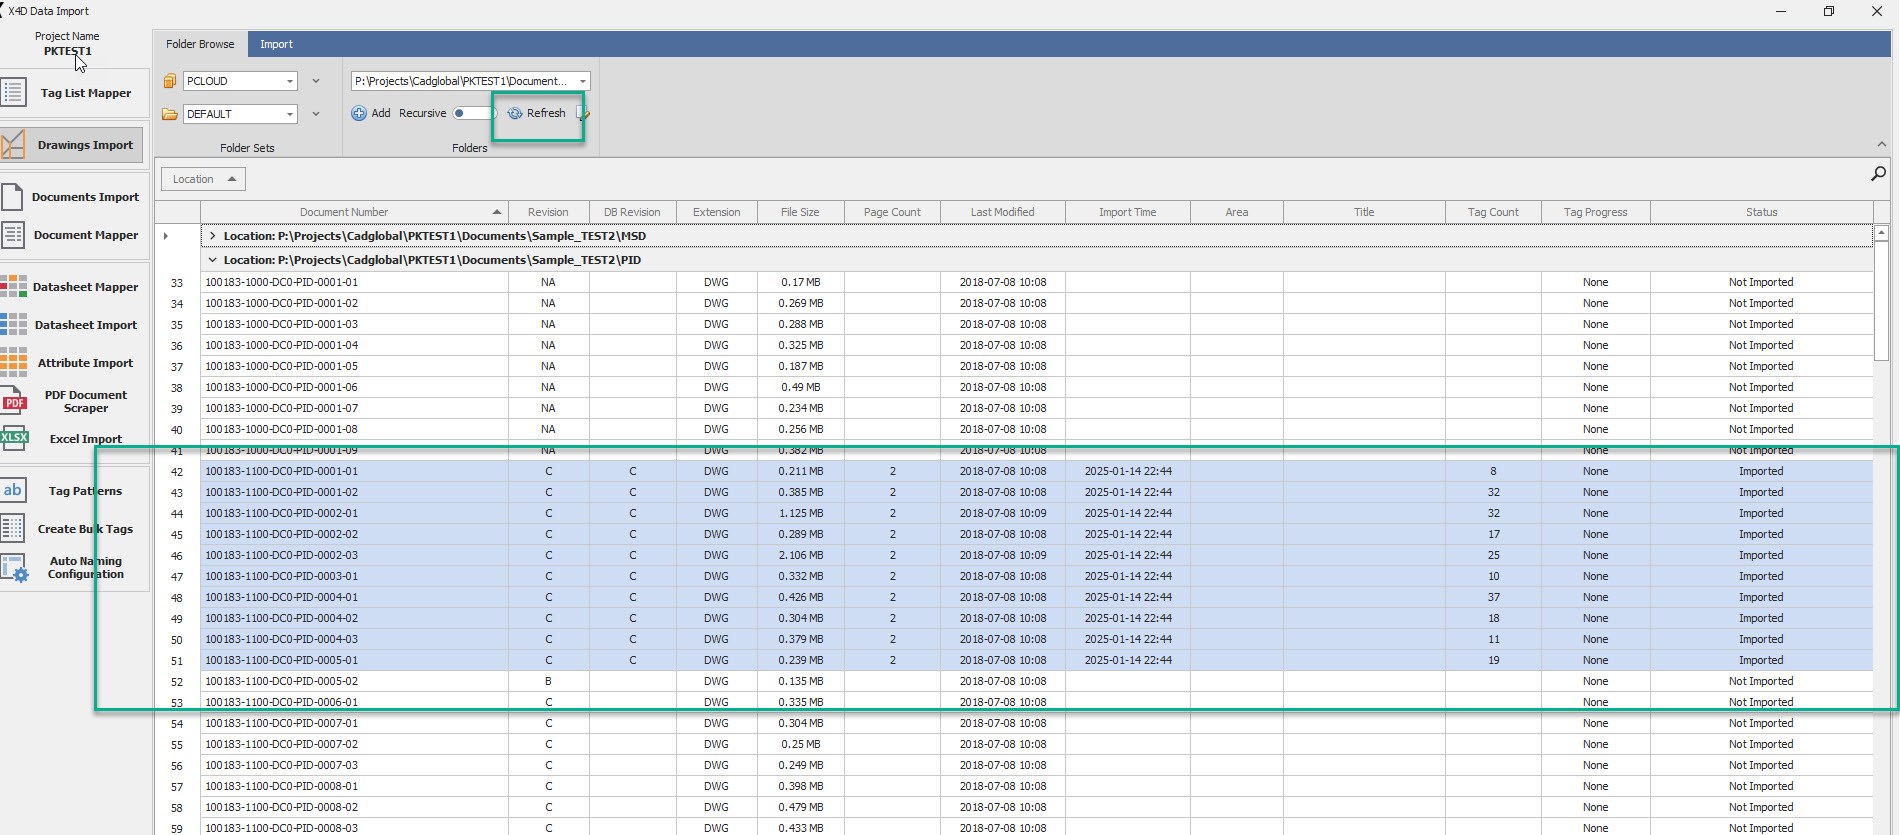
- Go into the drawings import tag and under the Folder Browse tab, select the folder in which we need to add the
files.
-
Click on the ADD button and navigate to the source folder and click SELECT.
-
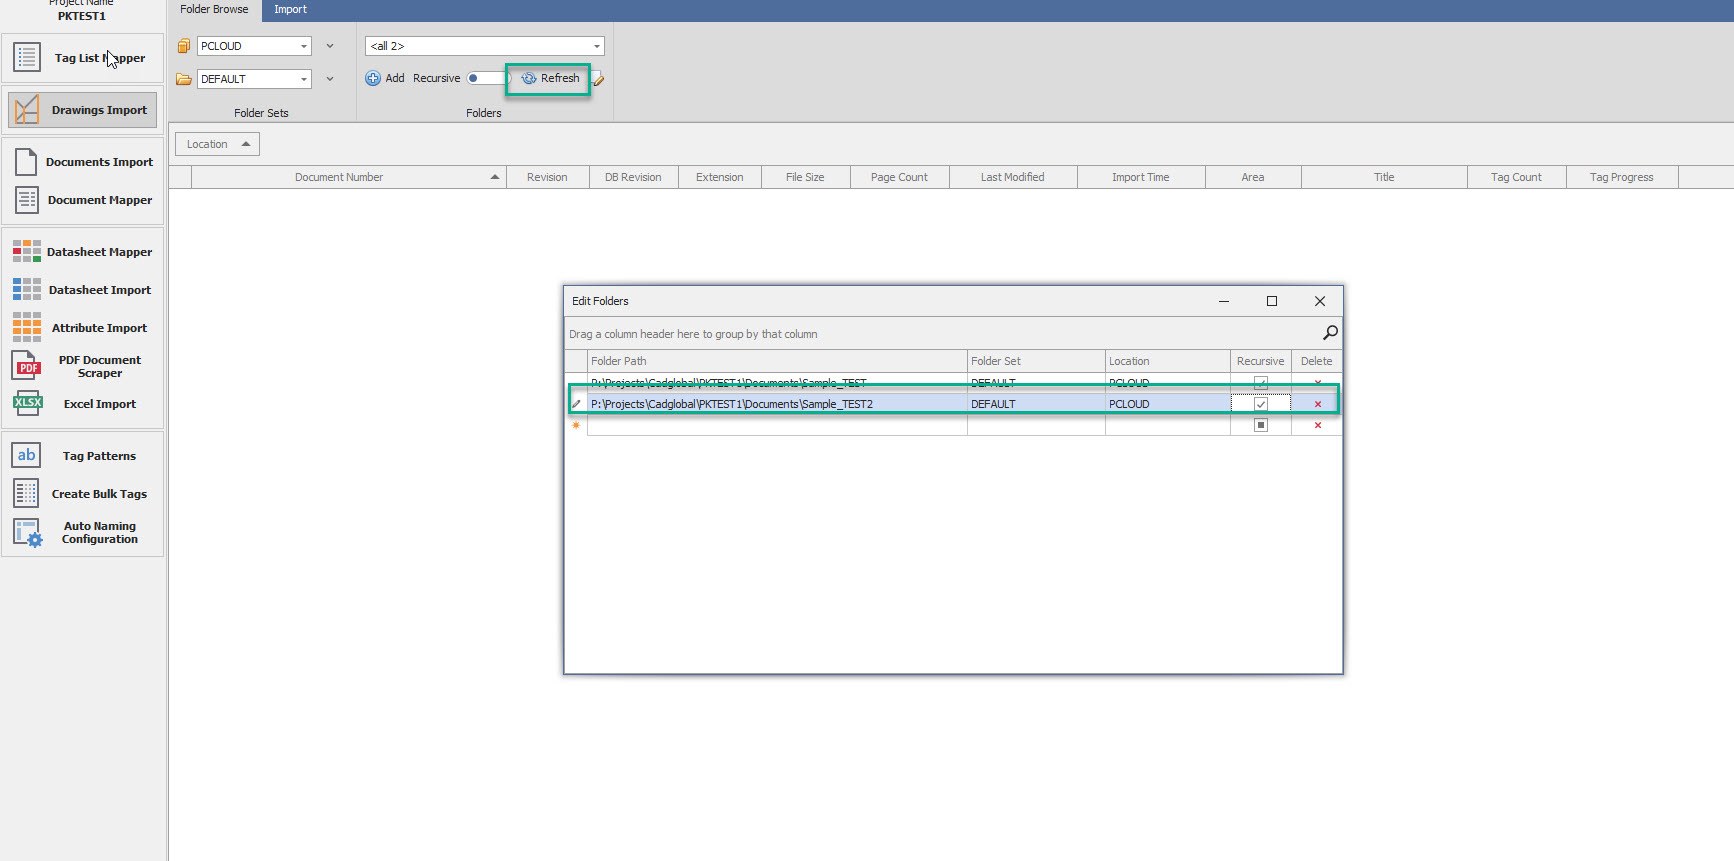
Once done, click the REFRESH button to load the folder.
-
Click on the edit icon and check the Recursive option and close the Edit Folders window.
-
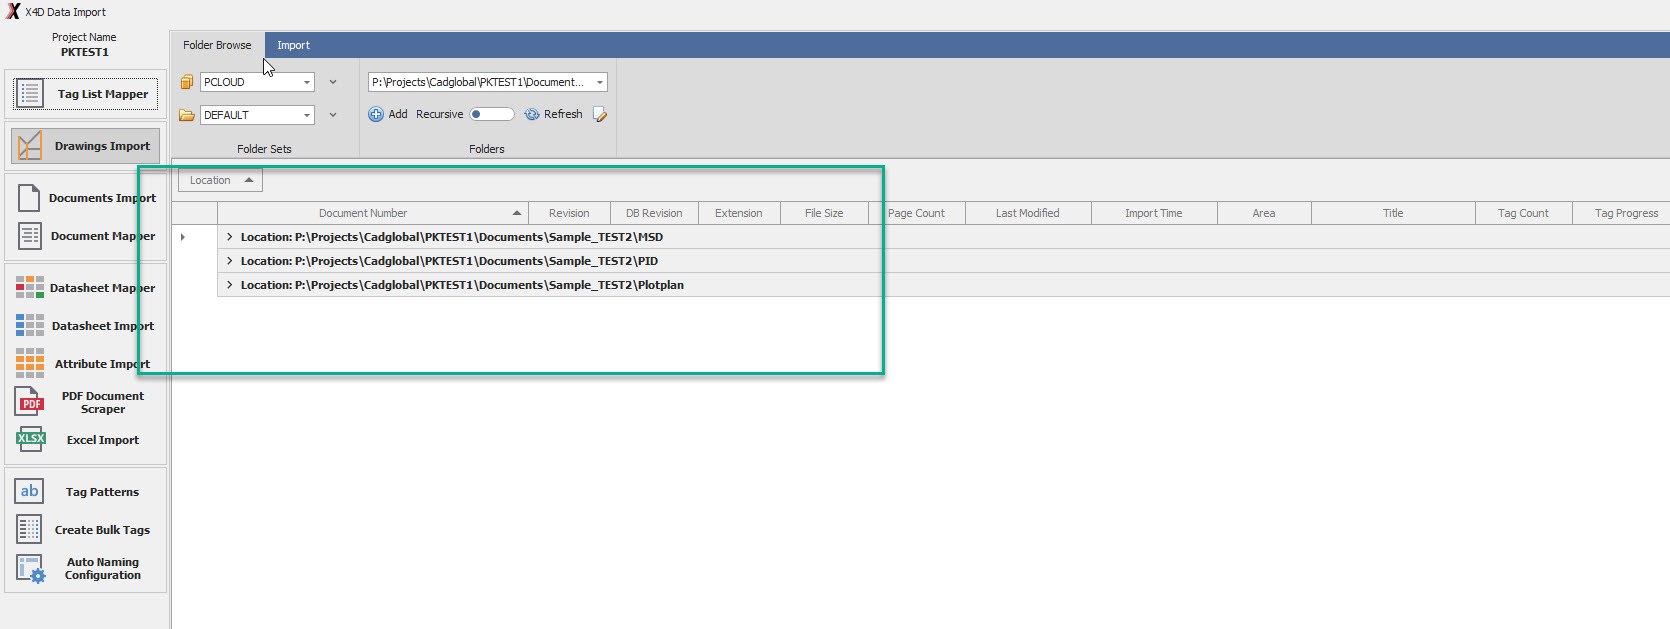
Once refreshed, the source folders would be visible on the screen.
- Any folder can be clicked to access the files in them, Select the files that are to be worked upon and hit the
Import icon on the top.
-
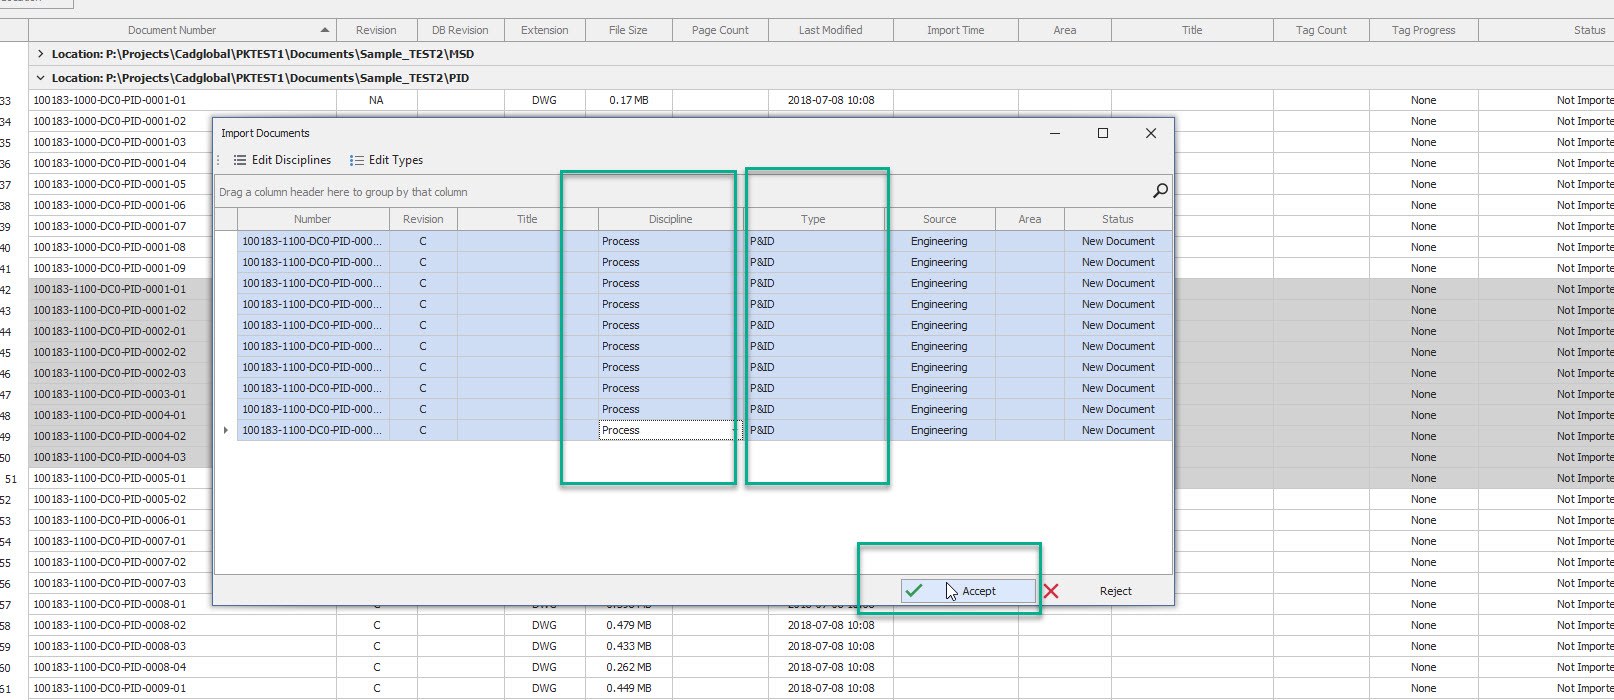
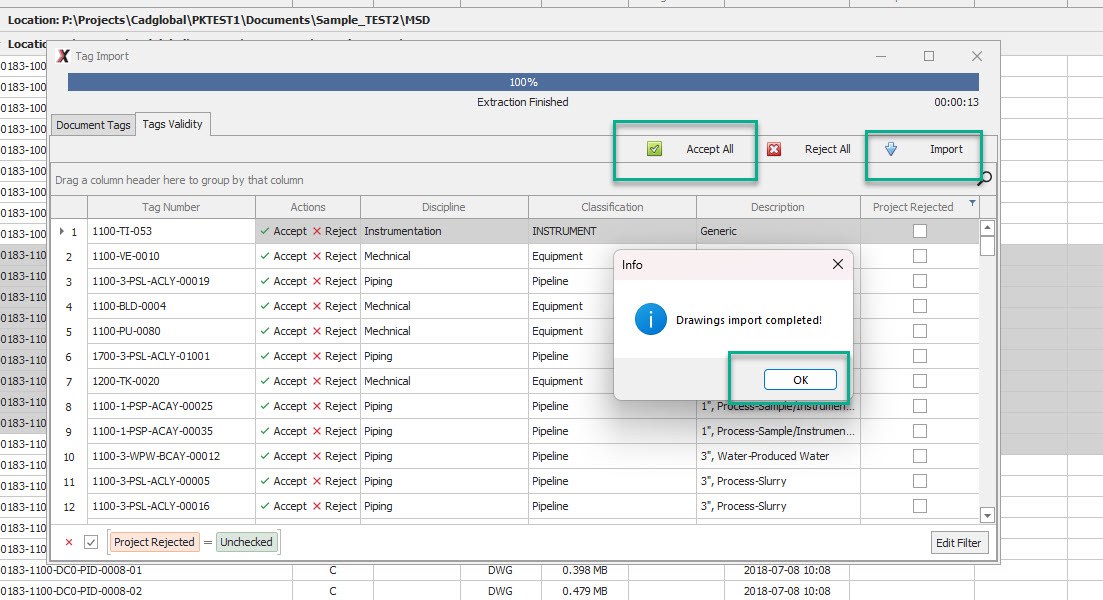
Insert the Discipline and Type values into the columns and hit ACCEPT.
-
Once the import is complete; the system would give a pop up saying “Drawings Import completed!”.

- Click OK, and under the Tags Validity tab, the imported tags can be reviewed and individually accepted/rejected,
or we can hit the Accept All option followed by the Import button.
-
Please note, do not close this window manually.
-
Click on the Import button and wait for the window to auto close.
-
Once the Import is done, click on the Refresh button and the tag count on the selected files would refresh.
-
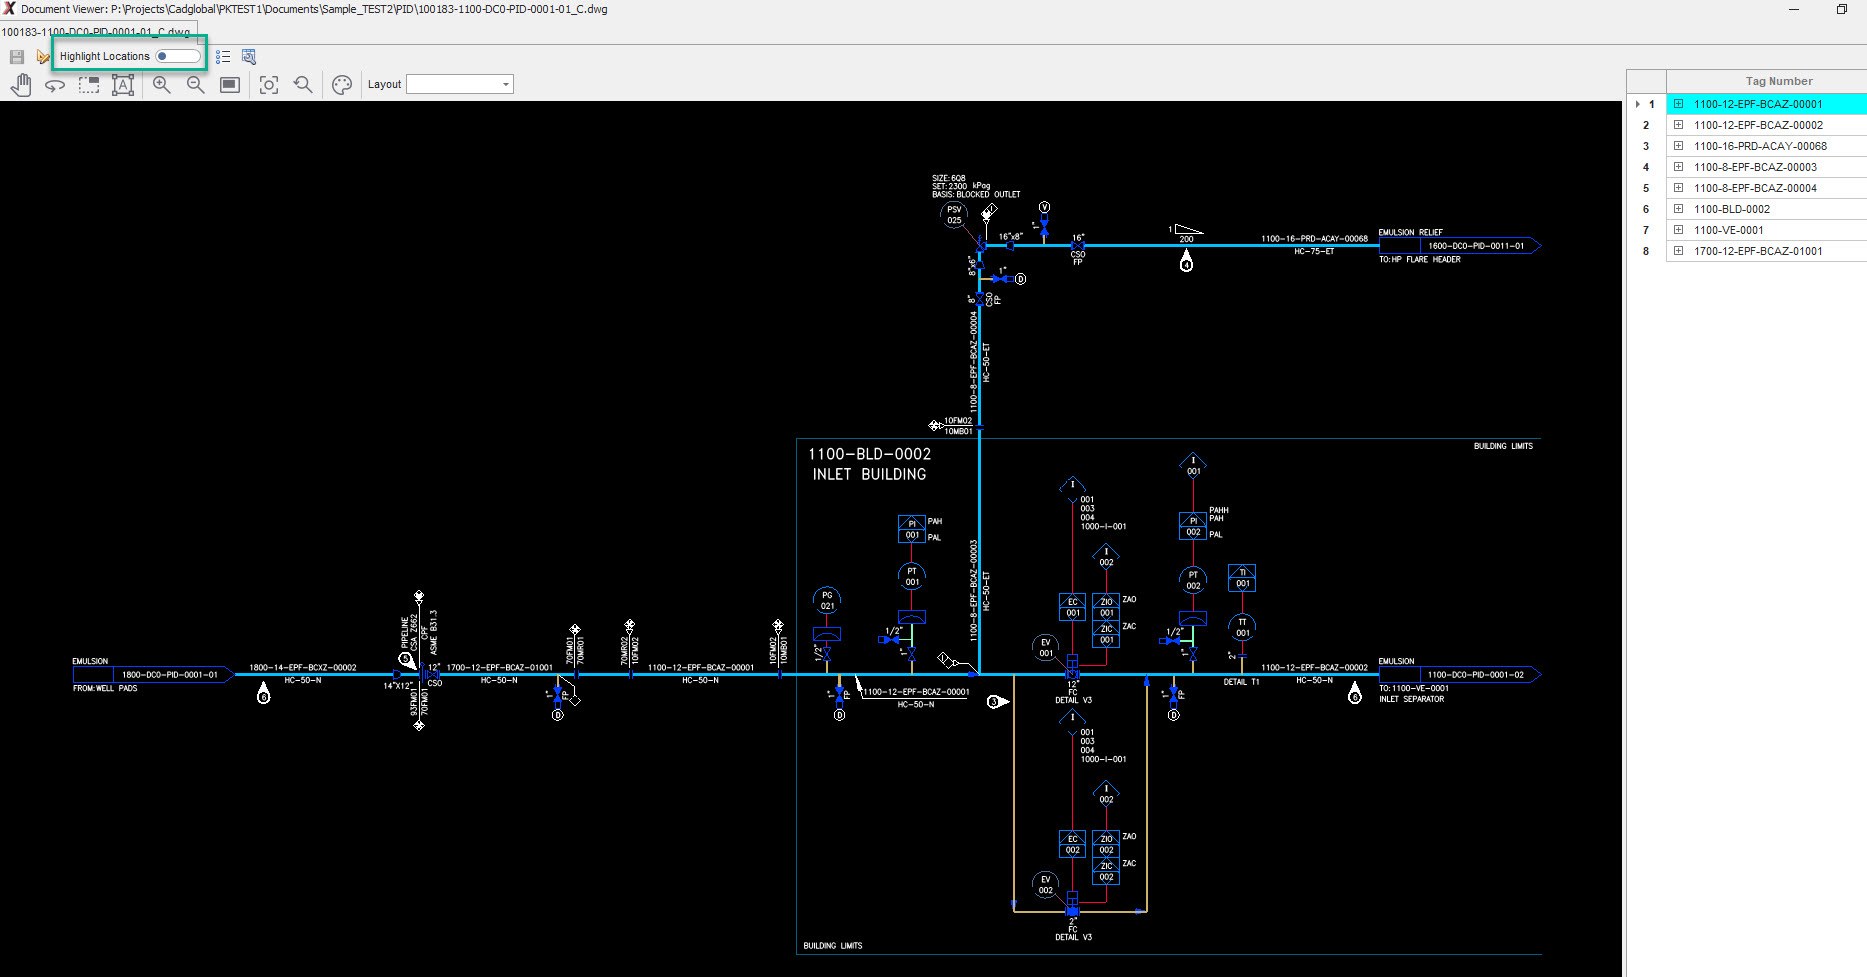
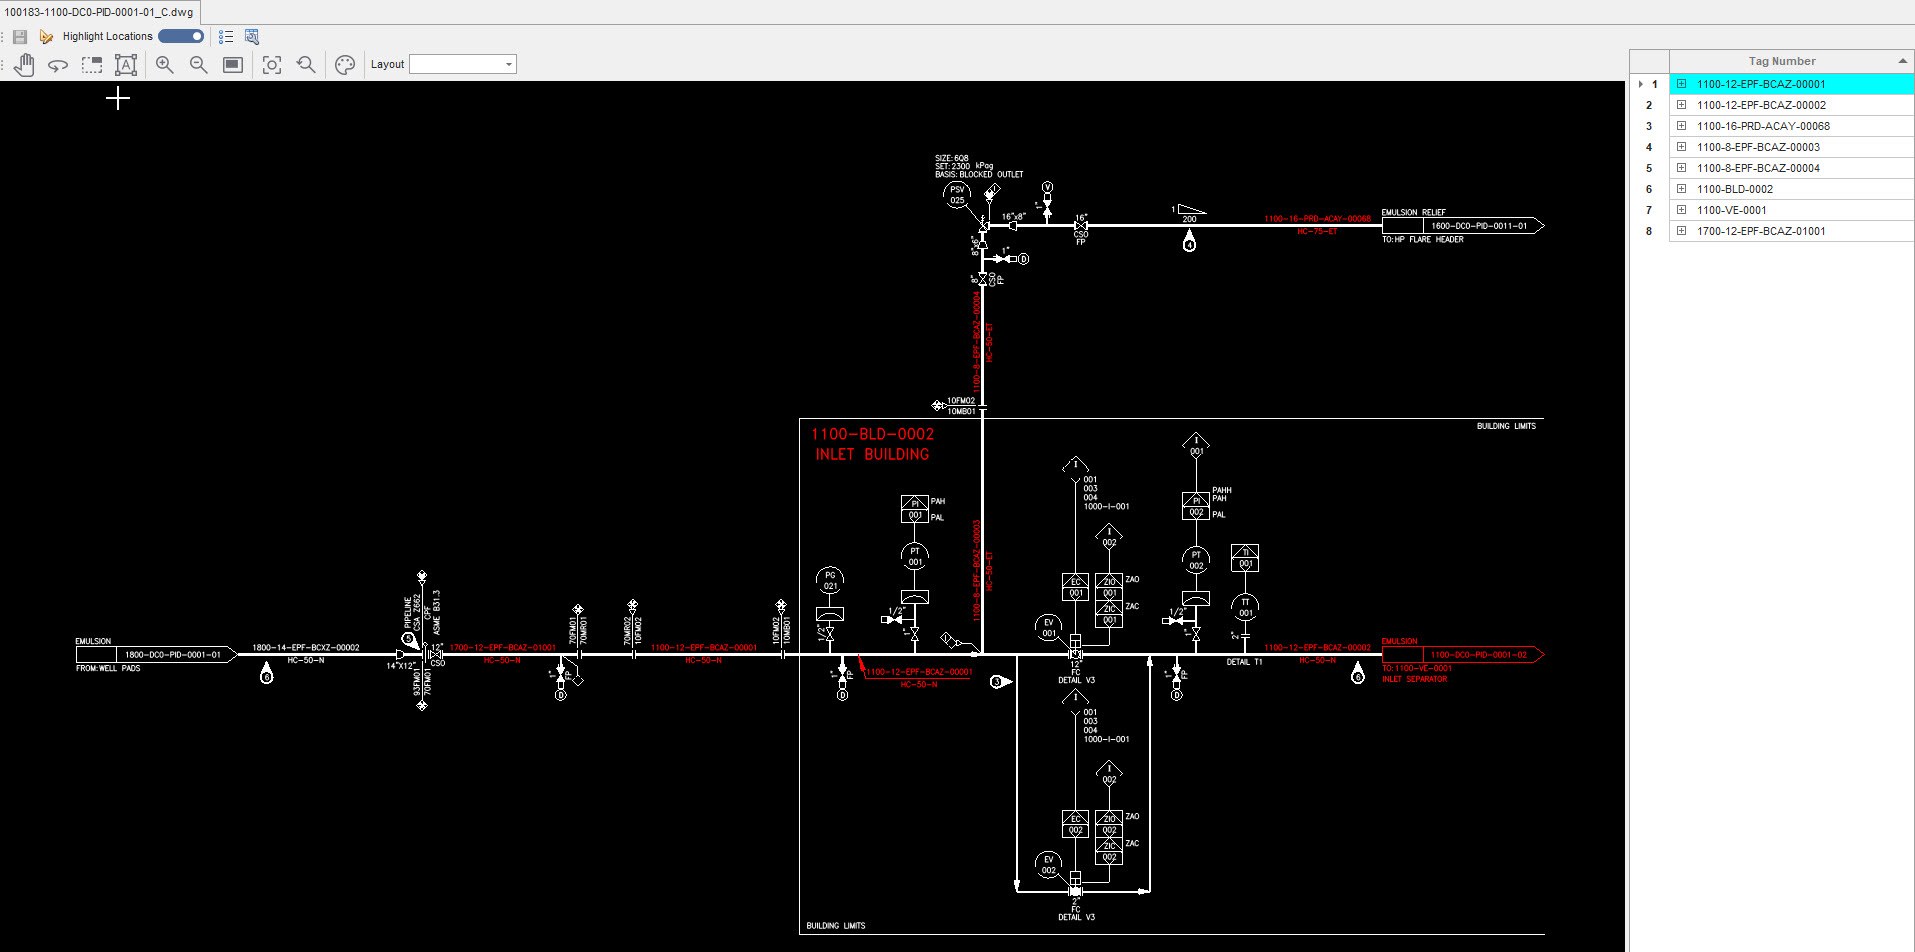
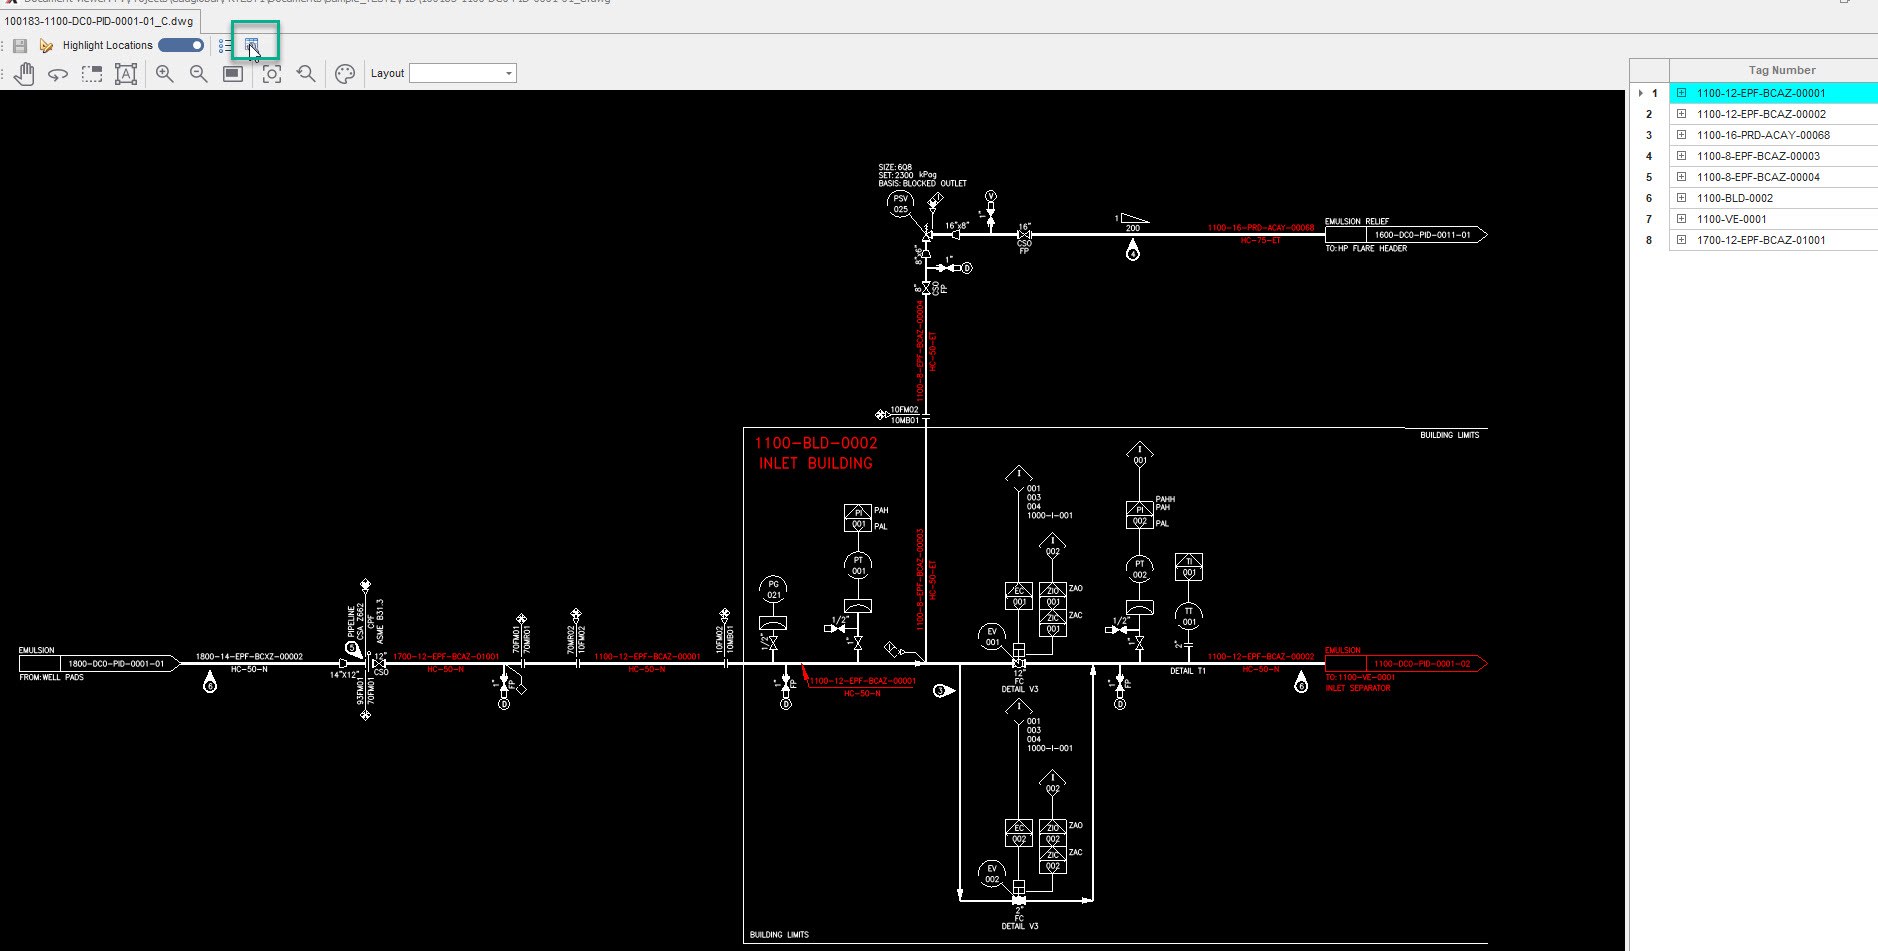
Double click on a drawing to open it. Once open, turn on the Highlight Locations option.
- Verify if all the tags are being picked. If any tag is missing, add them manually.
Add Tag Manually in AutoCAD Drawings
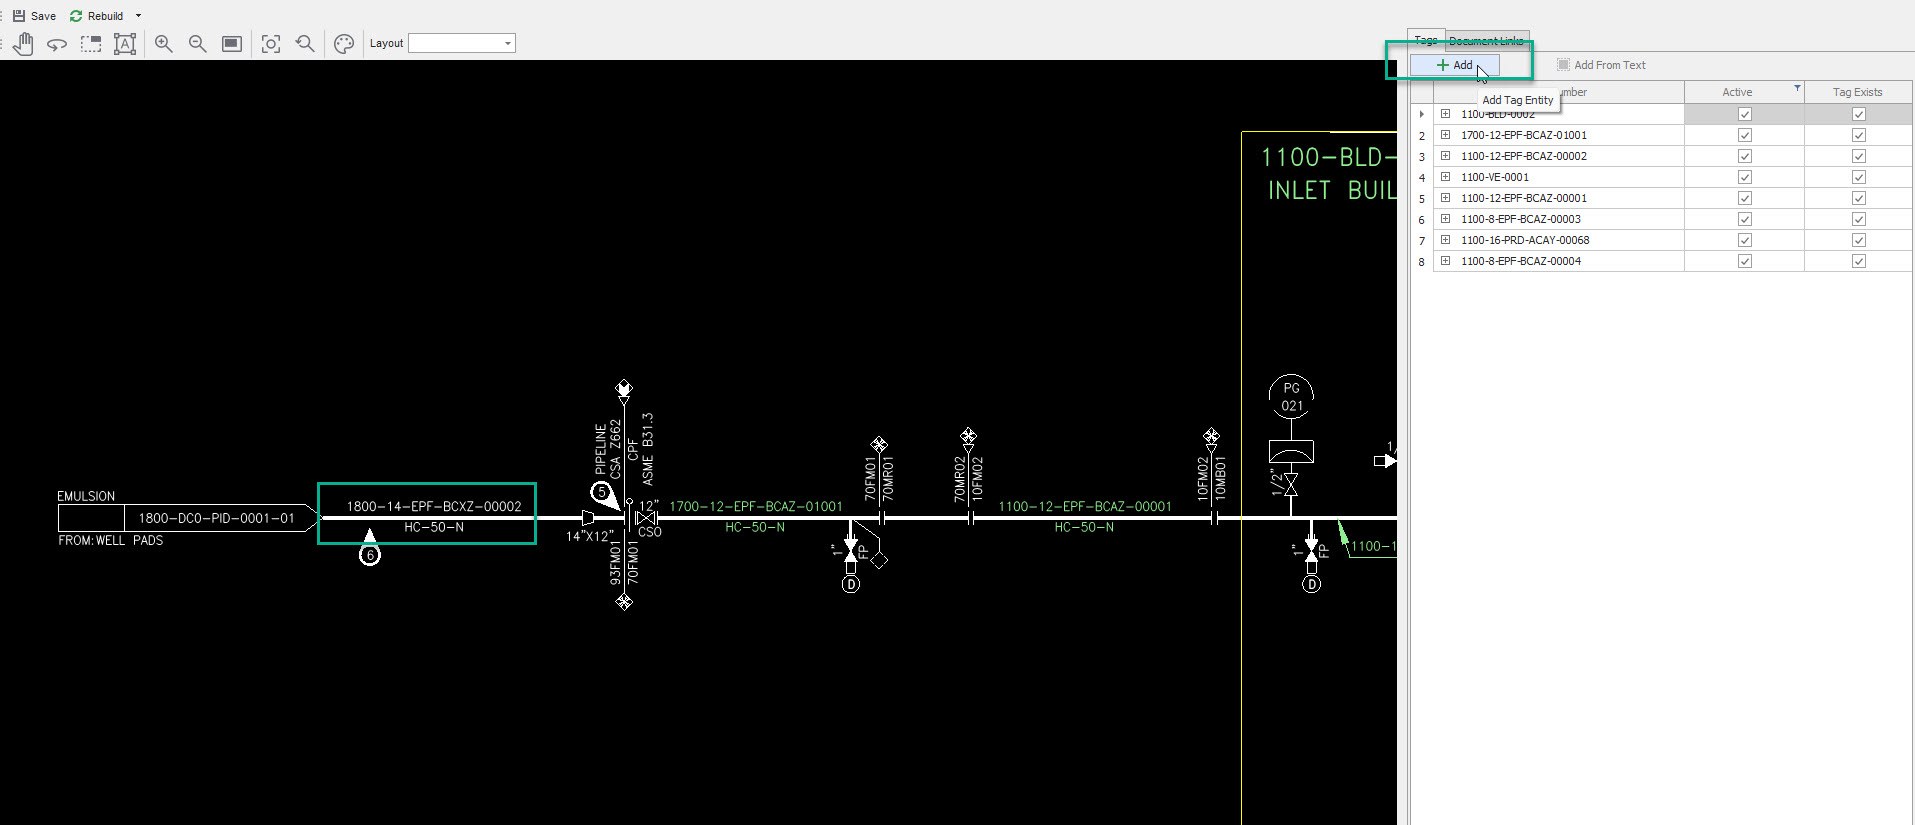
How to add Tag Manually in AutoCAD Drawings Sometimes tags are writen in a pretty complex manner to fit the space. For these tags, Tag Patterns may fail. In such cases, tags can be marked manually in the AutoCAD drawings aswell using the process below :
- Open the File and click on Edit Tag Locations button located in the top bar of the document viewer
-
Click on the Add Tag Entity Button that can be found on the top of the tag list.
-
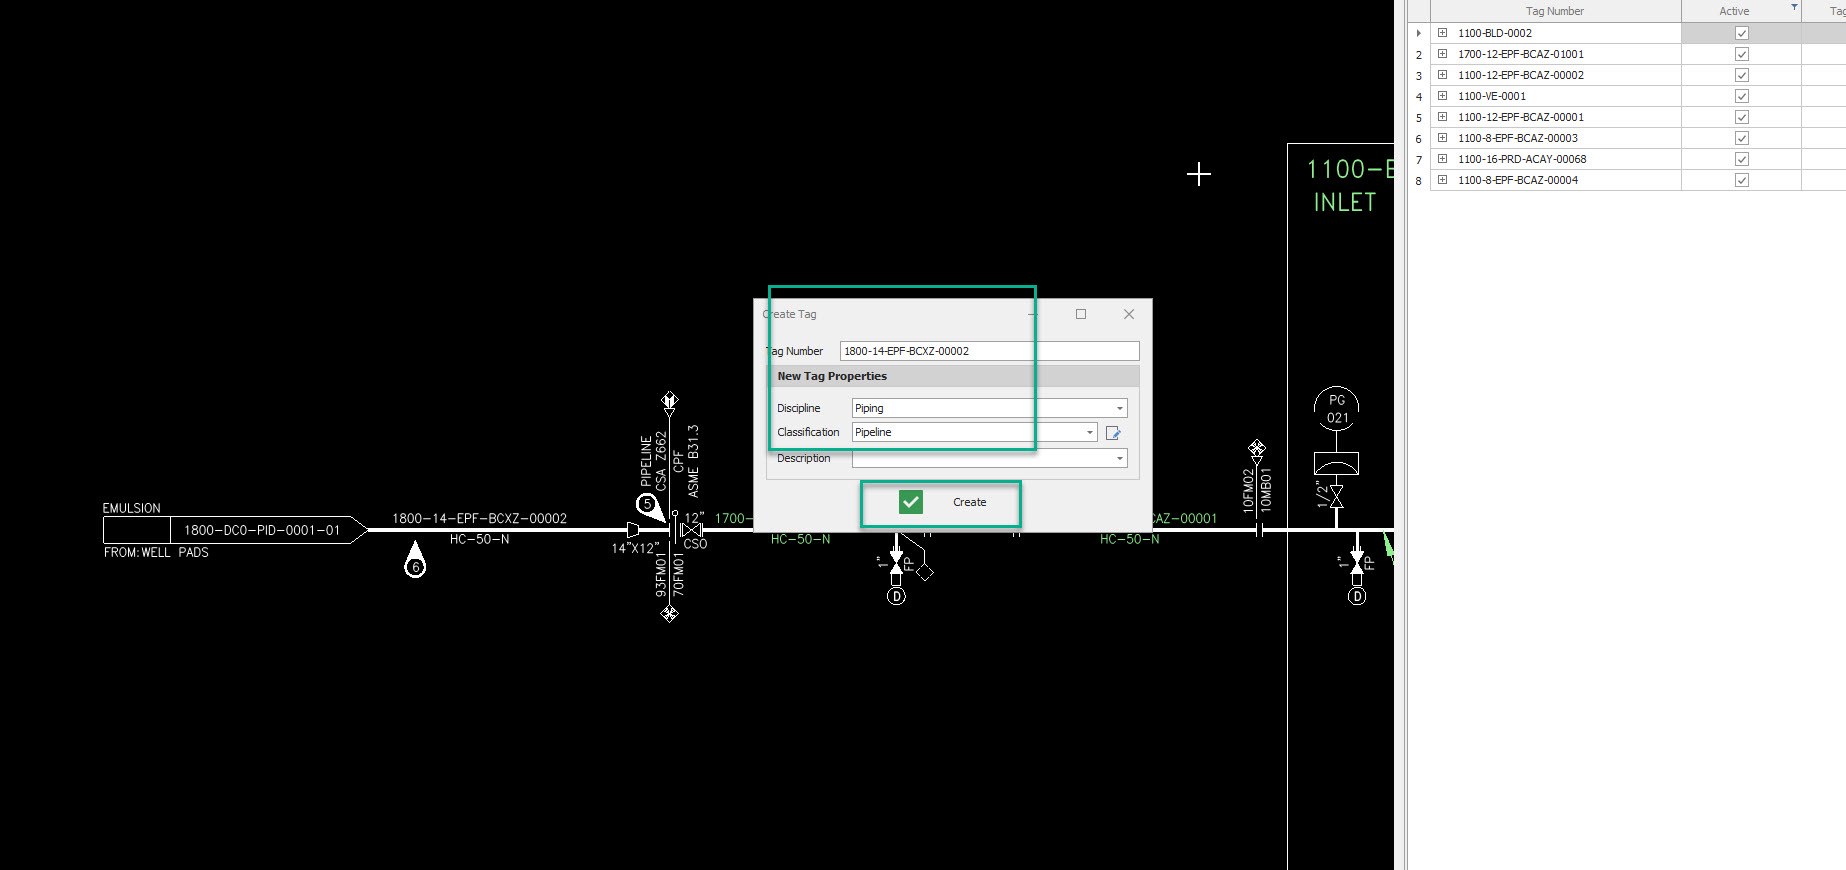
This should pop up the Create Tag window.
-
Enter the missing Tag Number.
-
Select the Discipline and Classification and click Create.
-
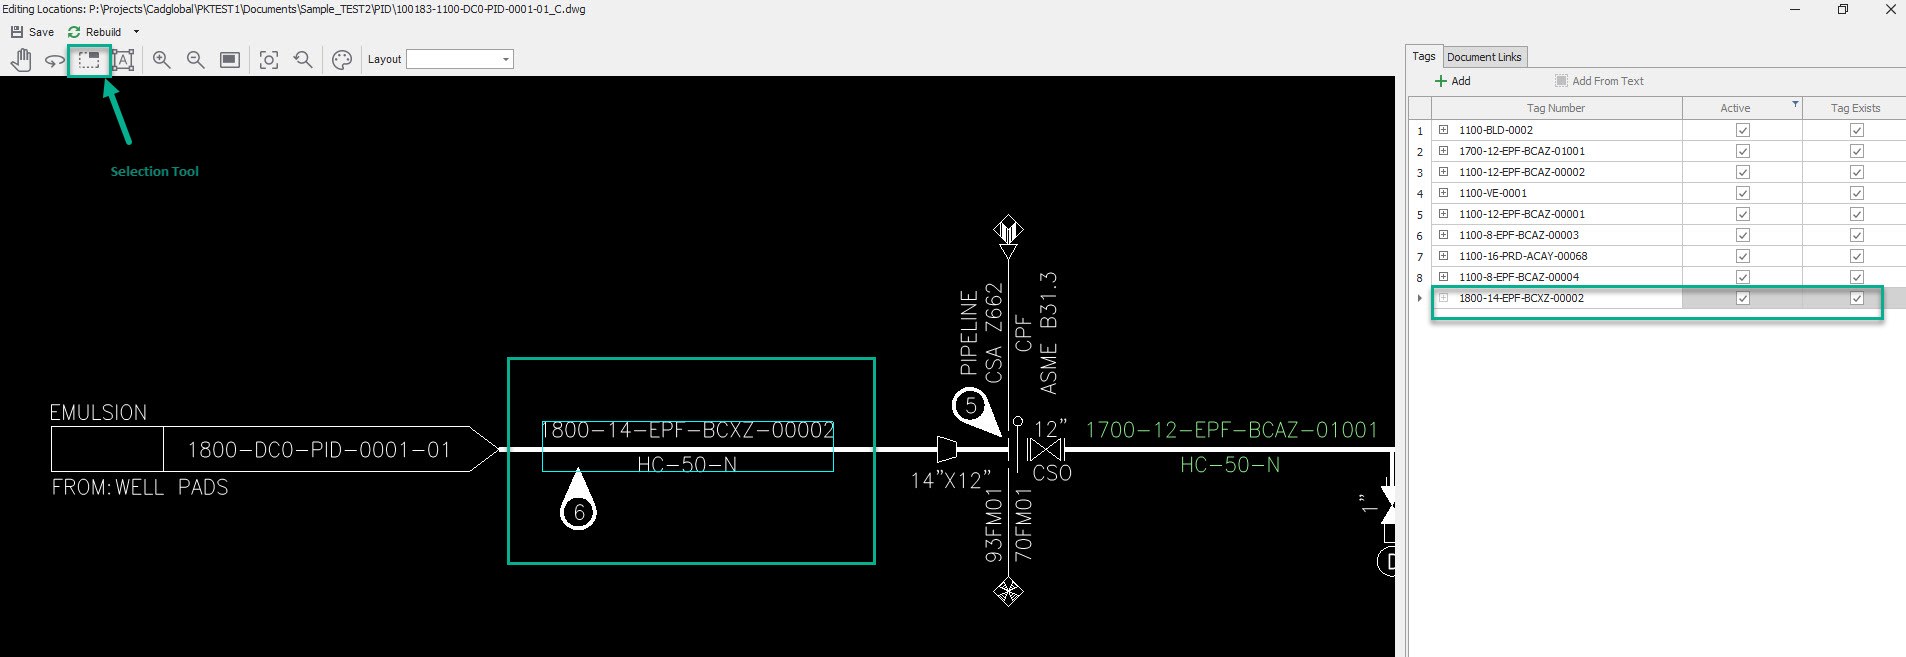
The new created tag should be now visible in the tag list.
-
In the top menu click the Selection Tool icon.
-
Make the selection around the missing tag
-
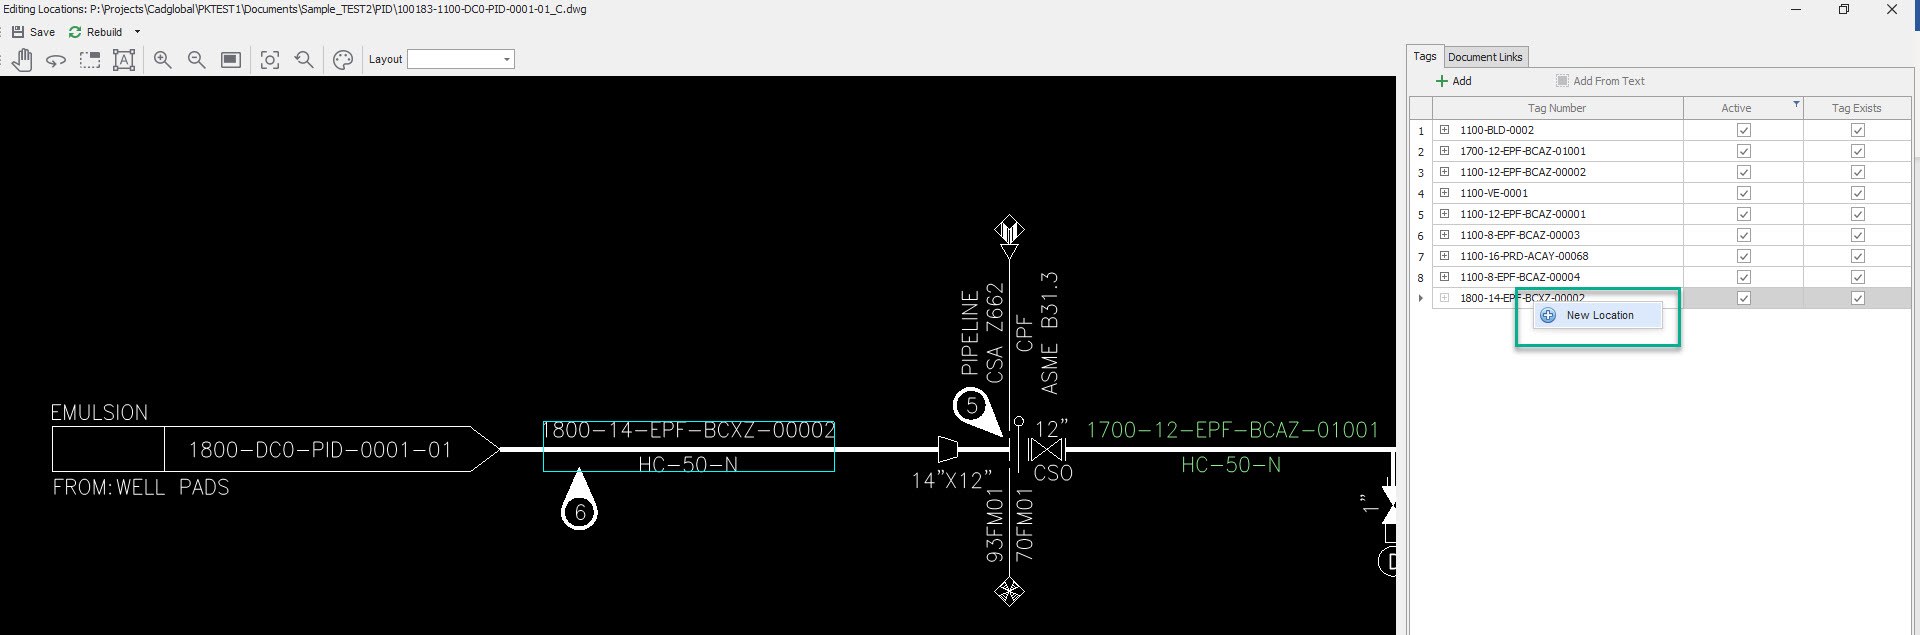
Once the missing tag in the drawing is selected, right click on the tag number in the tag list and click
"+ New Location"
- The new tag has been successfully added now and linked to its location on the drawing.
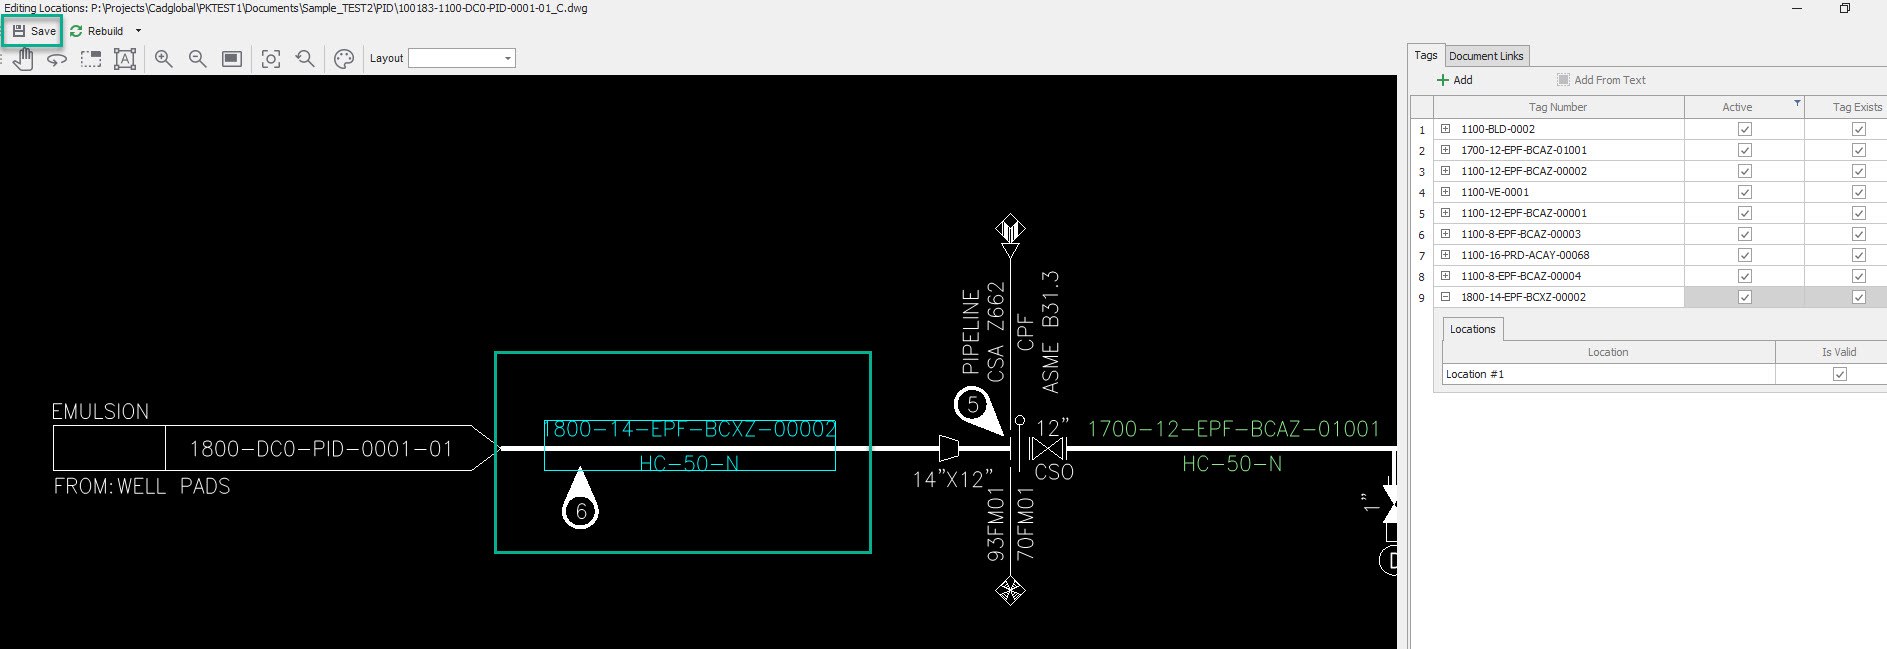
-
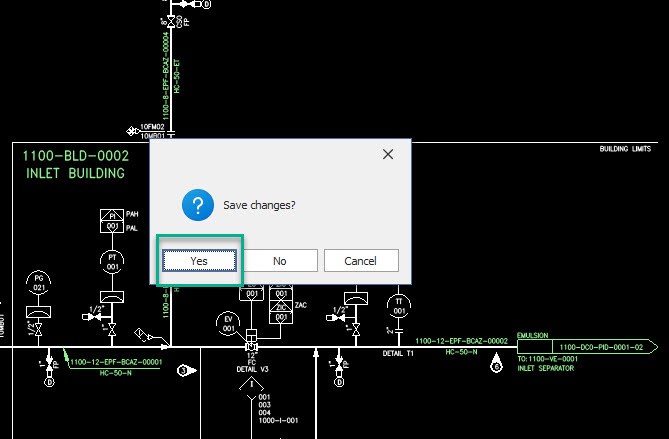
Click Save and close the Editing Locations Window.
-
Click "Yes"
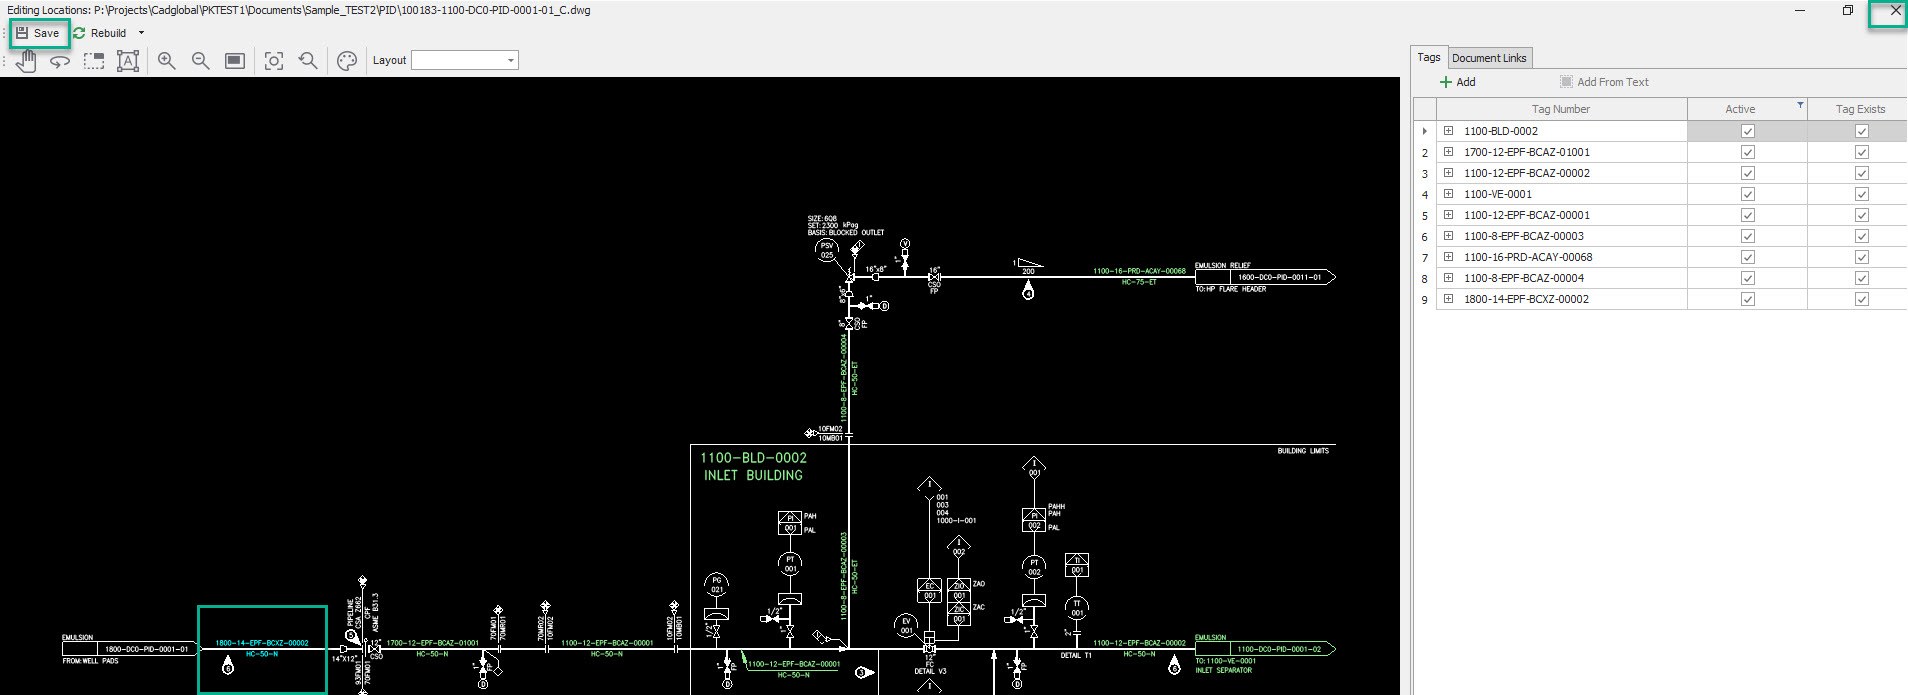
- Reopen the drawing in the document viewer.
- The missing tag should now be picked in the drawing.
Review Imported Drawings
Document Import
Document Scanning
PDF documents needs to be scanned for OCR to process tags and extract attributes from these documents. Document scanning can be either :
- Cloud Scanning :
- Google Scan Supported (License for Google Vision should be available) Filename should be GoogleLicense_PROJECTCODEest1.json. The process to obtain Google license is explained in X4D Administration.
- ABBYY Scan Supported (License for ABBYY api should be available) Filename should be config_PROJECTCODE.json
- In House Scanning :
- Acrobat : For in house scanning, The files can be scanned and result are kept under the file location folder
- BlueBeam : For in house scanning, The files can be scanned and result are kept under the file location folder
- Location of file folder can be set from the setting menu that can be found next to the X4D Version Stamp.
